DeskPi 7.84 inch LCD Mount for 10 inch 2U Rackmate (DP-0059)

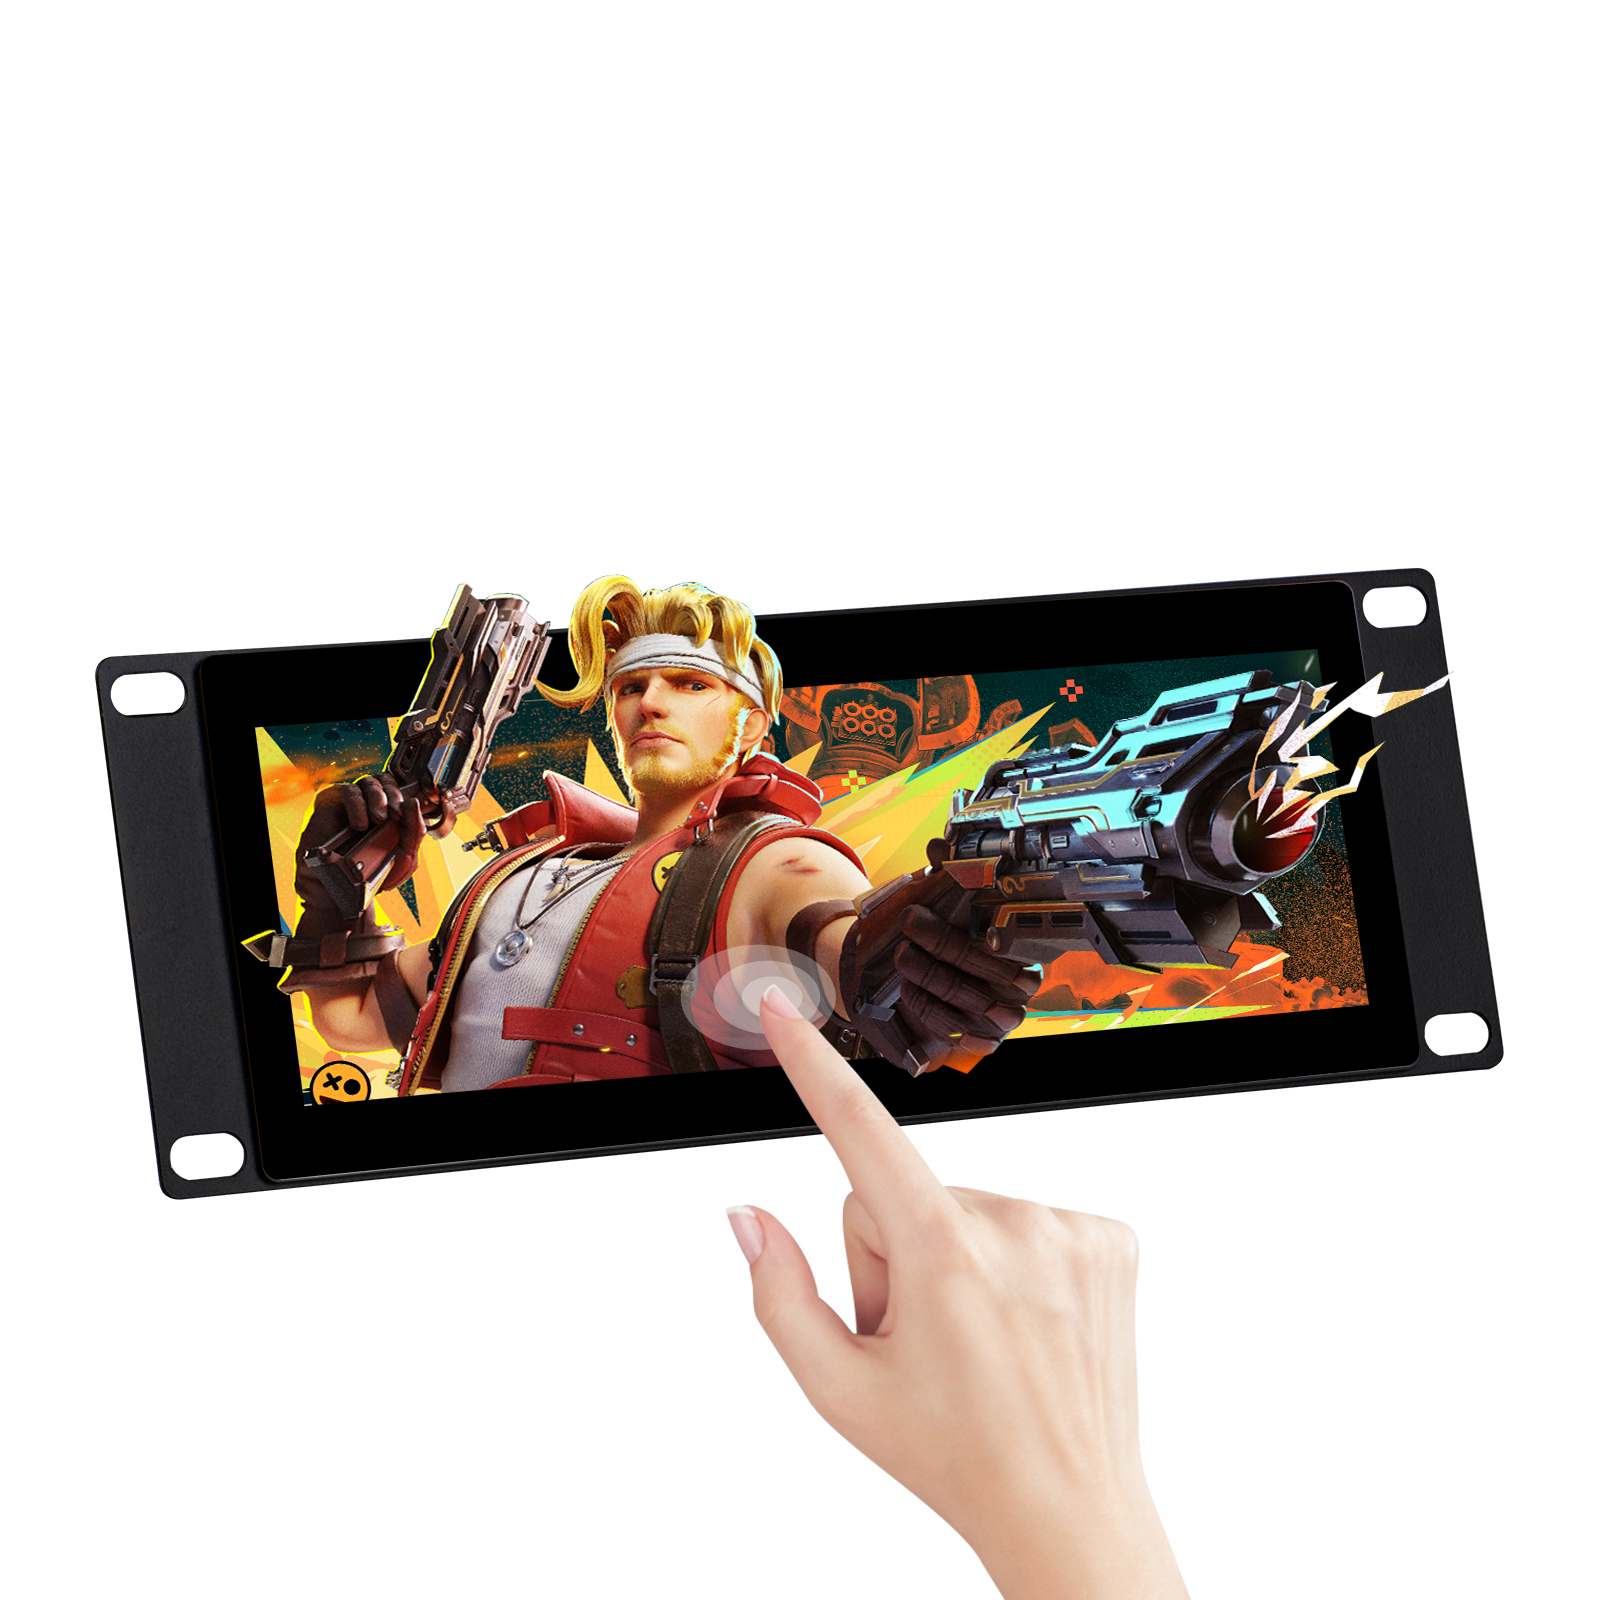
Product front view

SKUDP-0059
Height / Form Factor2U ยท 10-Inch Rack Mount
Display Specs7.84" Ultrawide TFT (1280ร—400, 350 cd/mยฒ)
Touch & VideoCapacitive Multi-Touch / Full-Size HDMI

Descriptionโ€‹

The DeskPi 7.84 inch LCD Mount (DP-0059) is a 10-inch 2U rack-mount display panel engineered for the DeskPi RackMate series. It combines a high-resolution ultrawide TFT LCD with capacitive multi-touch, an onboard OSD adjustment menu, and multi-language support, making it an ideal plug-and-play monitor for server racks, homelabs, cluster dashboards (Grafana / Netdata), and maintenance consoles.

Key Featuresโ€‹

  • 7.84 inch TFT LCD with a resolution of 1280 x 400, 350 cd/mยฒ brightness, and 60 Hz refresh rate.
  • Capacitive multi-touch screen โ€” plug and play, no extra driver installation required.
  • Standard 2U form factor for 10-inch racks, compatible with DeskPi Rackmate T0 / T1 / T2 series.
  • HDMI video input + USB touch-signal output for easy connection to a server host or SBC.
  • Built-in OSD menu with multi-language support for adjusting brightness, contrast, color, sharpness, backlight, and more.
  • 3.5 mm audio output for connecting external speakers or headphones.
  • DC 5V power input via a standard USB-C power/touch combo port.
  • Durable metal bracket with pre-drilled mounting holes for quick rack installation.

Specificationsโ€‹

ItemSpecification
Product SKUDP-0059
Screen Size7.84 inch
Panel TypeTFT LCD
Resolution1280 x 400
Brightness350 cd/mยฒ
Refresh Rate60 Hz
Touch TypeCapacitive multi-touch
Video InputFull-size HDMI
Touch OutputUSB (shared with DC 5V input port)
Audio Output3.5 mm stereo
Power SupplyDC 5V
Mounting10-inch 2U rack mount (Rackmate T0 / T1 / T2)
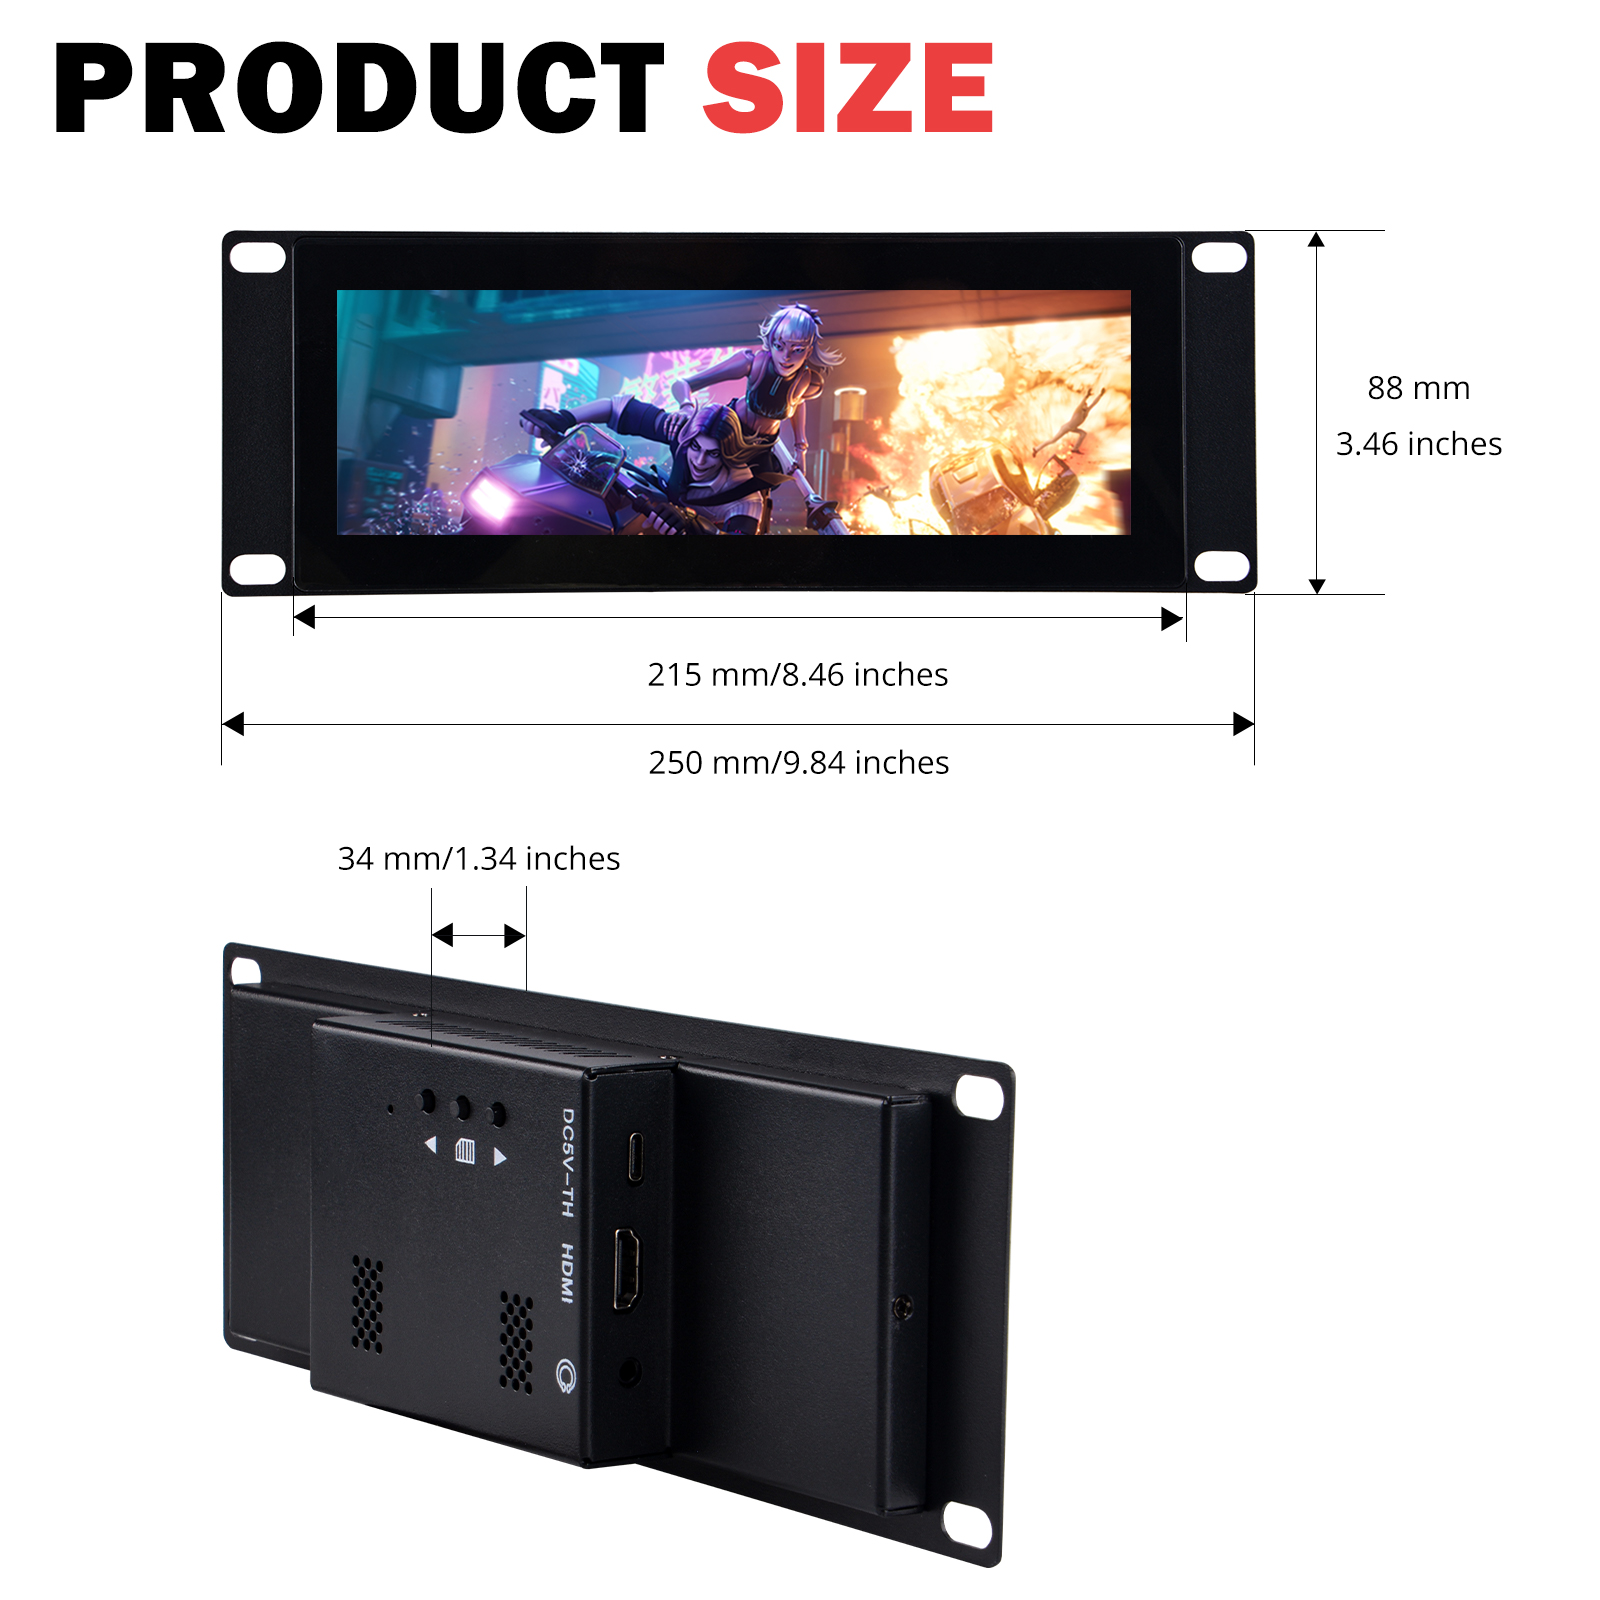
Product Dimensions250 mm x 88 mm / 9.84 in x 3.46 in
Active Display Area215 mm x 75 mm / 8.46 in x 2.95 in

Product Overviewโ€‹

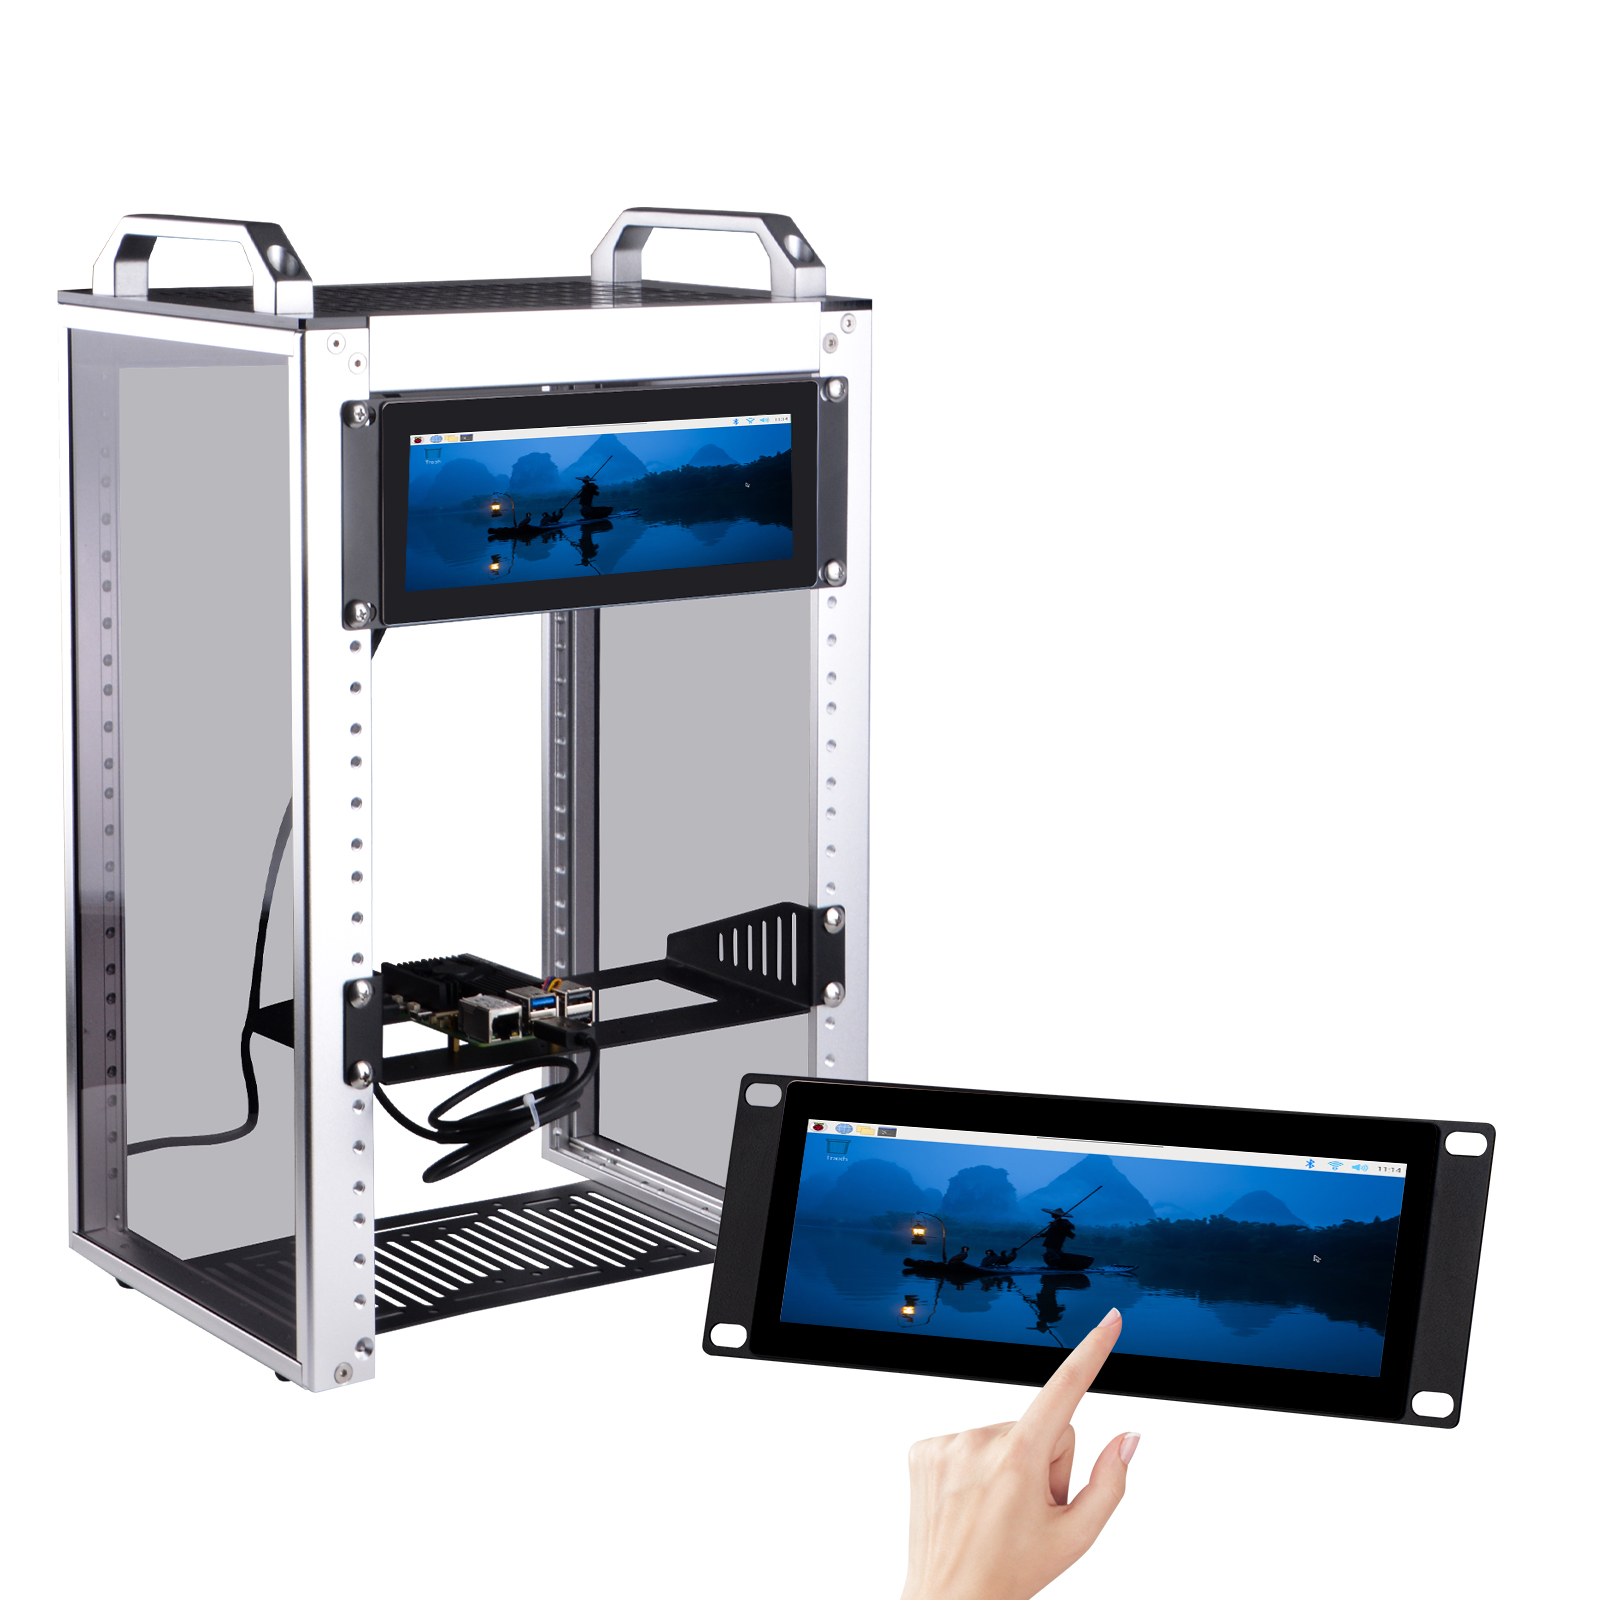
Rackmate compatibility

The DP-0059 display panel fits perfectly into the 2U front opening of Rackmate T0, T1, and T2 cabinets.

Touch screen in use

System monitoring dashboard

Box and key specifications

Product Size & Interfacesโ€‹

Dimensions and interfaces

Rear I/O (from top to bottom):

  1. DC 5V IN / Touch Signal OUT โ€” USB-C combo port for power and touch data.
  2. Full-size HDMI Port โ€” video input from the host device.
  3. 3.5 mm Audio OUT โ€” external audio output.

OSD buttons on the rear:

  • Menu Navigator Button (LEFT) โ€” navigate up / decrease value.
  • OSD Menu Button โ€” open / close the OSD menu.
  • Menu Navigator Button (RIGHT) โ€” navigate down / increase value.

Package Contentsโ€‹

Package list

Installation Stepsโ€‹

Installation steps

  1. Align the display with the 2U rack mounting holes and secure it with the included screws.
  2. Connect the HDMI cable from the host to the display, and connect the USB cable for touch and power.
  3. Press the OSD buttons on the rear to adjust brightness, contrast, color, and other display parameters.

Application Scenariosโ€‹

Home lab cluster

Desktop video editing assistant

The 7.84 inch LCD panel is widely used as a server-status monitor, home-lab dashboard, cluster console, touch control panel, and secondary display for video editing or live-streaming workflows.

How to Installโ€‹

  1. Mount the panel:

  2. Place the DP-0059 panel against the 2U opening on the front of your Rackmate cabinet.

  3. Use the four included #10-32 5/16 screws and washers to fasten the panel.

  4. Connect video:

  5. Plug the included HDMI-to-HDMI cable between the host device and the display.

  6. Connect touch and power:

  7. Plug the included USB cable into the DC 5V / Touch port on the display.

  8. Connect the other end to a 5V USB power source or a USB port on the host device.

  9. Power on:

  10. Once power and HDMI are connected, the display will light up automatically.

  11. The touch screen is recognized as a standard HID device โ€” no driver installation is required.

OSD Menu Operationโ€‹

The on-screen display (OSD) menu lets you fine-tune the picture quality and language settings.

OSD menu

  • Press the OSD Menu Button to open the OSD.
  • Use the LEFT / RIGHT Navigator Buttons to move through menu items or adjust values.
  • Available options include:
  • Picture โ€” brightness, contrast, sharpness, backlight
  • Display โ€” horizontal / vertical position, phase, clock
  • Color โ€” color temperature, saturation, hue, red/green/blue gain
  • Advance (Advanced) โ€” reset, language, transparency, and other advanced settings
  • The OSD supports multi-language menus; select your preferred language under Advance (Advanced).

Package Includesโ€‹

  • 1 x DeskPi 7.84 inch LCD Mount (DP-0059) Pack

Note: A 5V power adapter is not included. Please use a standard USB 5V/2A or higher power source.

Display Resolution Noteโ€‹

โš ๏ธ macOS users: the screen image may appear stretched because macOS cannot output 1280 x 400 natively. The minimum supported resolution on macOS is typically 1280 x 720.

On a Mac, the display will usually be driven at a 16:9 resolution (such as 1280 x 720) and then scaled or letterboxed, which can cause horizontal stretching. For the best picture quality, set a custom resolution of 1280 x 400 via a third-party display utility (for example, SwitchResX or RDM) or adjust the overscan/scaling options in System Settings > Displays.

Notesโ€‹

  • Make sure the host device outputs a resolution compatible with the panel. The recommended resolution is 1280 x 400.
  • If the touch function does not respond, verify that the USB cable is connected to the DC 5V / Touch Signal OUT port and that the host recognizes the USB HID device.
  • Avoid pressing the screen with excessive force or using sharp objects on the touch surface.
  • For rack installation, ensure the cabinet is powered off before connecting cables to the host device.

For more DeskPi product documentation, visit the DeskPi Products Wiki.