DeskPi Lite Pi 5 Case (DP-0038)
Description
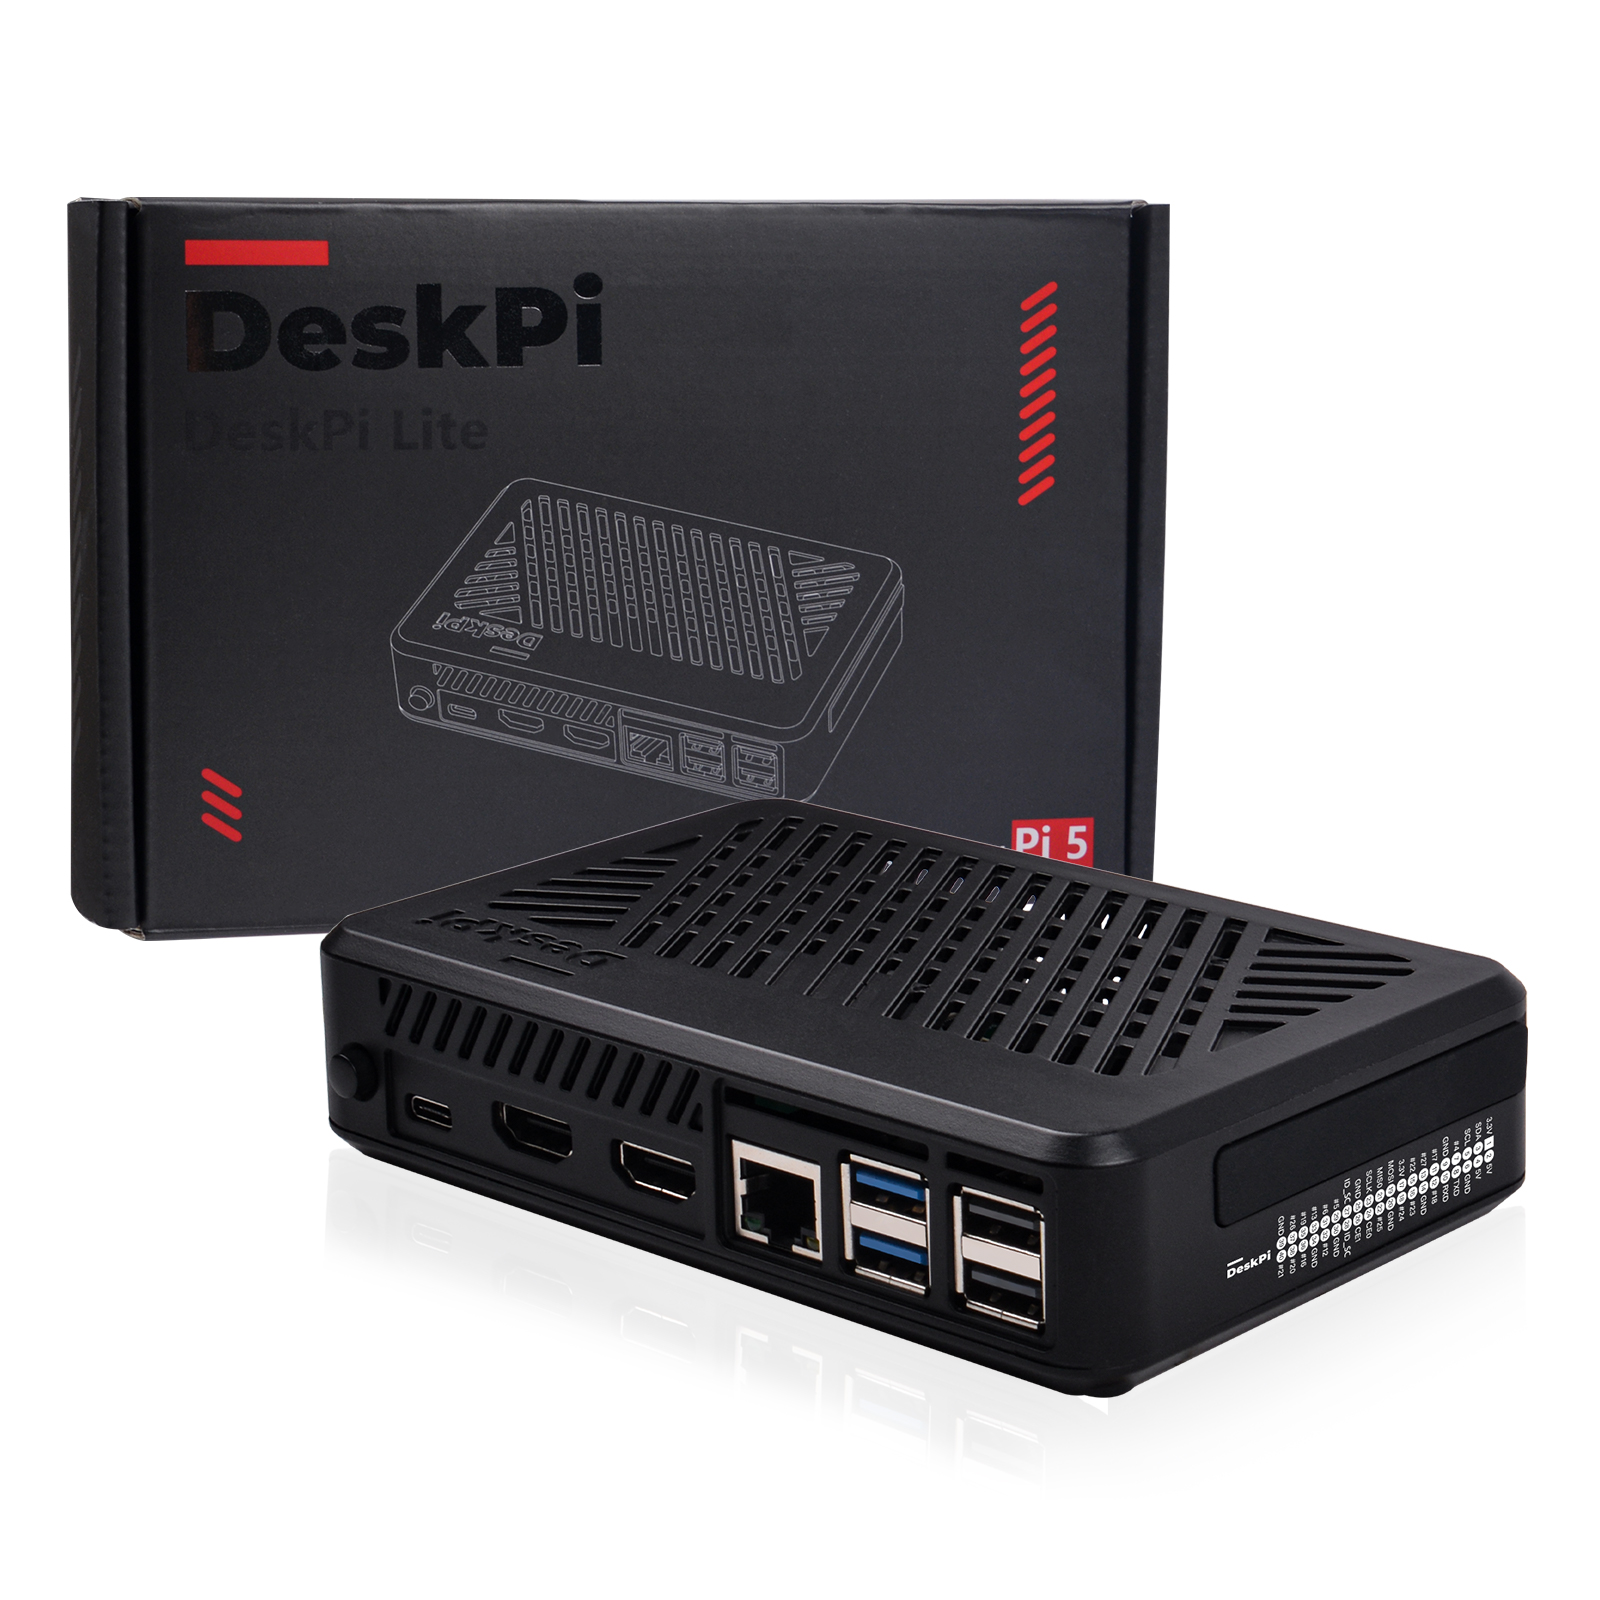
The DeskPi Lite Pi 5 Case (DP-0038) is an ABS enclosure custom-built for the Raspberry Pi 5. It integrates an Armor Lite V5 active cooler, converts micro-HDMI to standard full-size HDMI, routes all cabling to the rear panel, and adds a high-speed PCIe M.2 NVMe SSD slot underneath the board.
Key Features
- Tailored Fit: Custom-molded ABS shell with Pi 5 mounting cutouts and thermal clearance.
- Armor Lite V5 Cooler: Aluminum heatsink with a 3510 PWM fan that stops completely below 60°C.
- Full-Size Port Routing: Daughter board converts both micro-HDMI ports to standard HDMI; USB-C power is routed to the back panel.
- M.2 NVMe SSD Expansion: 16-pin PCIe FPC cable supports 2230 / 2242 / 2260 / 2280 M-Key NVMe drives.
- Accessible GPIO Header: Daughterboard with a rubber dust cover for the 40-pin GPIO.
- Dual Power Controls: Front soft power/reset button (Pi 5 native) plus rear latching mains cut-off switch.
Technical Specifications
| Specification | Details |
|---|---|
| Model SKU | DP-0038 |
| Target Board | Raspberry Pi 5 (4GB / 8GB / 16GB) |
| Chassis Material | ABS plastic |
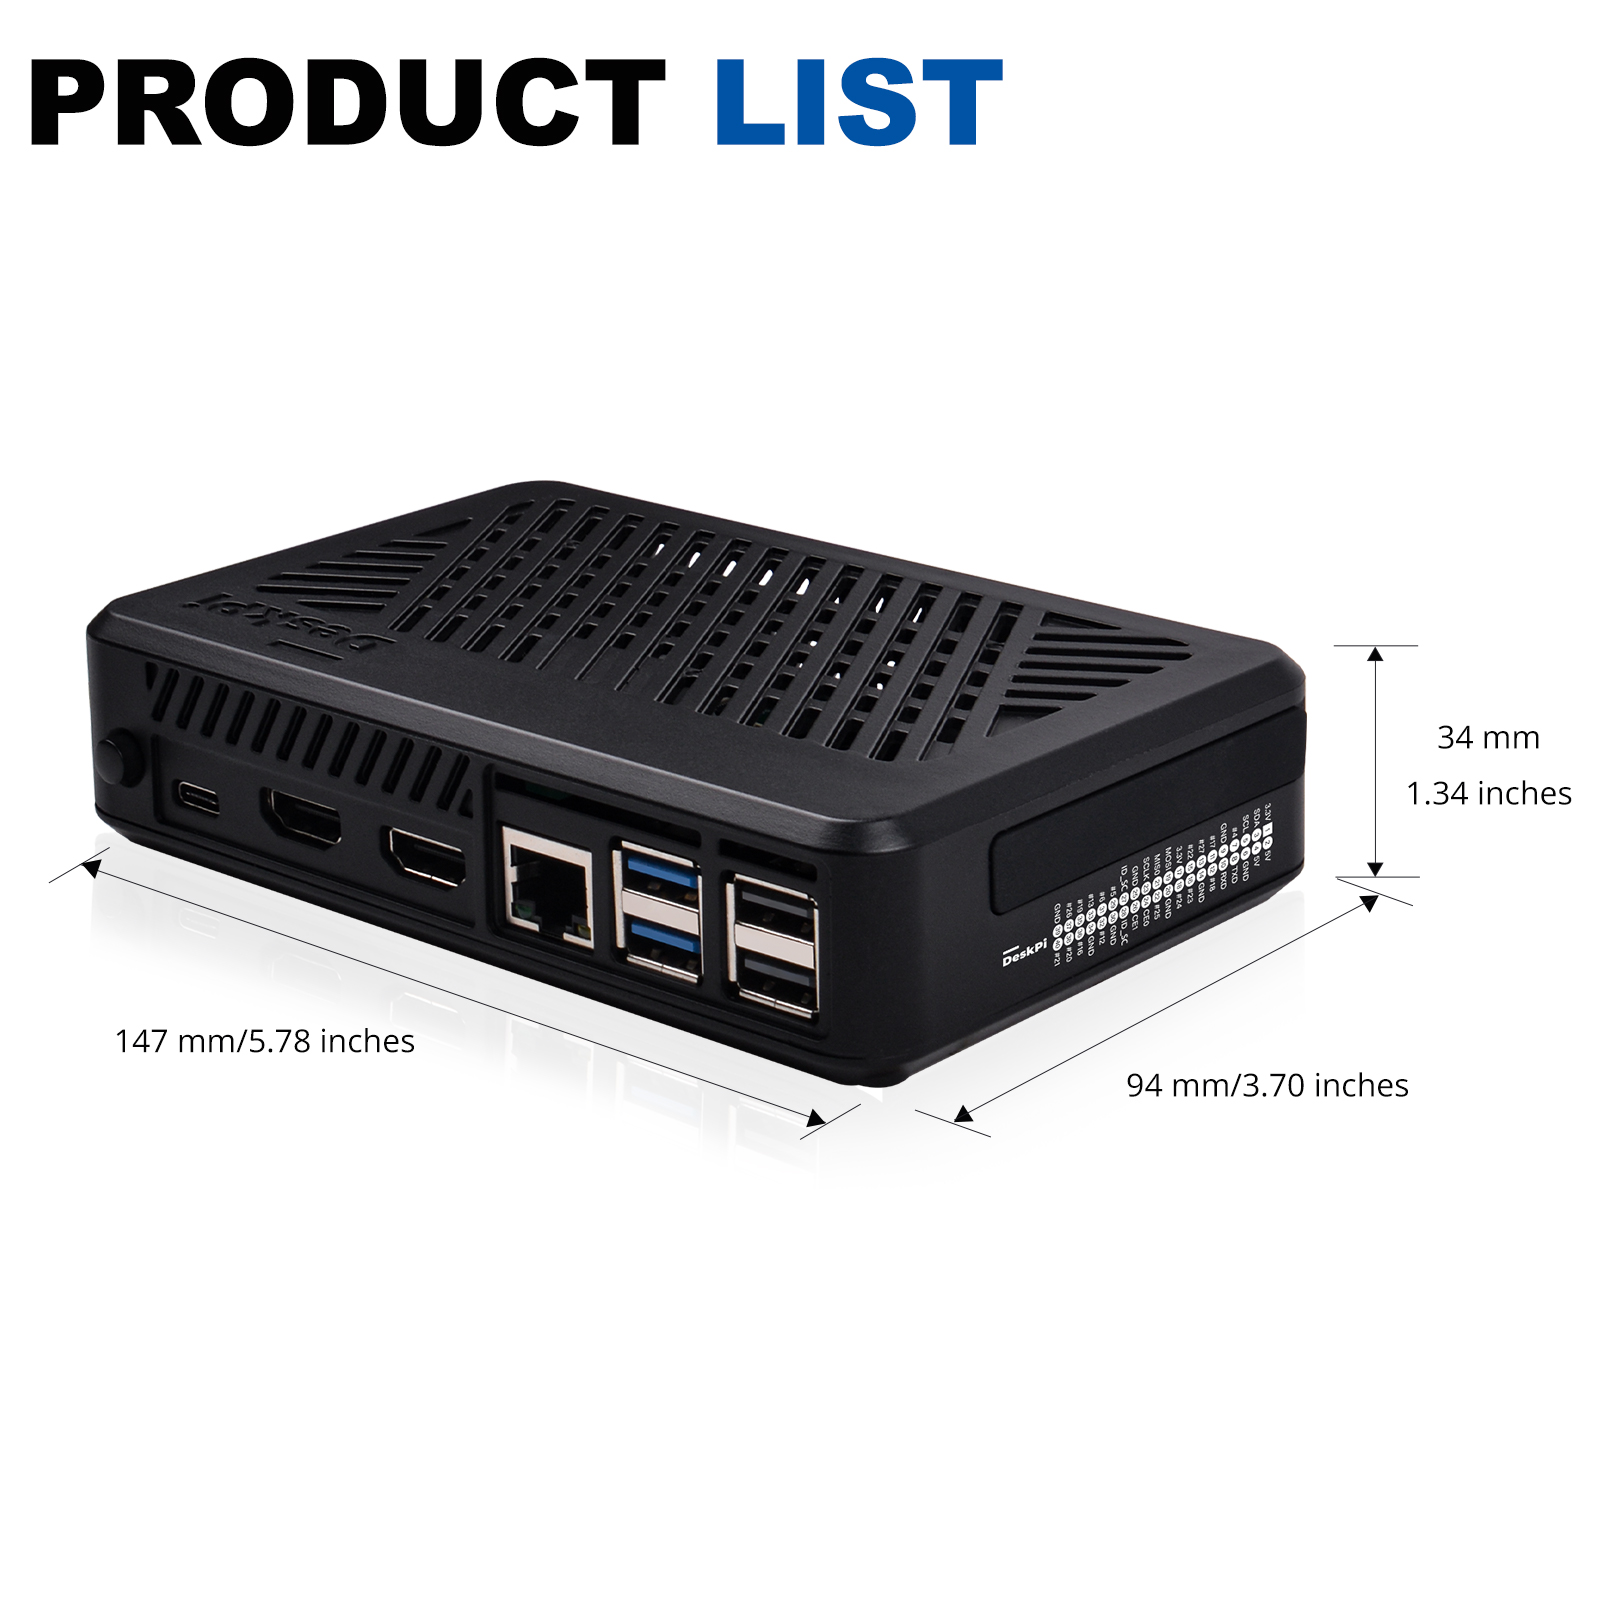
| Overall Dimensions | 147 × 94 × 34 mm (5.78 × 3.70 × 1.34 in) |
| Cooler | Armor Lite V5 aluminum heatsink + 3510 PWM fan (auto-stop below 60°C) |
| M.2 Slot | 1× M.2 NVMe SSD (M-Key, 2230 / 2242 / 2260 / 2280) |
| PCIe Generation | PCIe Gen 2.0 standard; Gen 3.0 experimental (config flag) |
| Rear I/O (post-conversion) | 2× full-size HDMI, USB-C power, 1GbE, 2× USB 3.0 |
| Front I/O | 2× USB 2.0, soft power/reset button |
| GPIO Access | 40-pin header exposed via daughterboard, rubber dust cover |
Gallery
Power Button Operation
The case has two distinct power controls. Always perform an orderly software shutdown first, then use the rear switch to fully cut mains.
| Button | Action | Behavior |
|---|---|---|
| Front single press | Show shutdown/reboot dialog (Pi 5 native) | |
| Front double click | Immediate orderly OS shutdown | |
| Front long press (5 s) | Force hardware shutdown | |
| Front press while off | Wake and boot the Pi 5 | |
| Rear latching switch | Physical mains cut-off | Use only after status LED stops blinking |
Tested NVMe SSD Compatibility
The bottom expansion board supports M.2 NVMe SSDs in 2230 / 2242 / 2260 / 2280 sizes. The following models have been verified in this enclosure:
| SSD Model | Form Factor | Capacity | Interface | Status |
|---|---|---|---|---|
| Lexar NQ790 | 2280 | 2 TB | PCIe Gen 4 ×4 | ✓ Verified |
| Samsung 990 Pro | 2280 | 2 TB | PCIe Gen 4 ×4 | ✓ Verified |
| WD Black SN770 | 2280 | 2 TB | PCIe Gen 4 ×4 | ✓ Verified |
| Kingston NV2 | 2280 | 250 GB | PCIe Gen 4 ×4 | ✓ Verified |
| Fanxiang S500 / S101 | 2242 | 256 GB | PCIe Gen 3 ×4 | ✓ Verified |
| KingSpec NE-Series | 2242 | 128 GB | PCIe Gen 3 ×4 | ✓ Verified |
| aigo P3500 | 2280 | 512 GB | PCIe Gen 3 ×4 | ✓ Verified |
| Netac N930E | 2280 | 128 GB | PCIe Gen 3 ×4 | ✓ Verified |
Software Configuration
1. Enable the PCIe External Interface
The Raspberry Pi 5 PCIe connector is disabled by default. Open /boot/firmware/config.txt and add under [all]:
[all]
dtparam=pciex1
Then reboot:
sudo reboot
2. Optional: PCIe Gen 3.0 Speeds
The Pi 5's official rating is PCIe Gen 2.0 (5 Gbps). To unlock Gen 3 (~8–10 Gbps) on compatible NVMe drives, add:
[all]
dtparam=pciex1
dtparam=pciex1_gen=3
Some drives log bus errors under sustained heavy I/O. If dmesg shows I/O errors, remove dtparam=pciex1_gen=3 to revert to certified Gen 2.0.
3. Direct NVMe Boot (Without MicroSD)
Set BOOT_ORDER to prefer NVMe, then SD, then USB:
sudo rpi-eeprom-config --edit
BOOT_ORDER=0xf416
Write the OS image to the NVMe SSD using Raspberry Pi Imager on a host PC, or clone from an existing MicroSD card via SD Card Copier (piclone). Power off, remove the MicroSD card, and the Pi 5 will boot directly from the NVMe SSD.
Compatible Hardware & Accessories
| Accessory | SKU | Purpose |
|---|---|---|
| DeskPi Pro (DP-0001) | DP-0001 | Aluminum set-top alternative for Pi 4 |
| DeskPi Lite for Raspberry Pi 4 (DP-0009) | DP-0009 | Pi 4 variant of the same case family |
| DeskPi Lite NAS Case (DP-0020) | DP-0020 | Adds 2.5" SATA + M.2 SATA, step-up for storage-heavy use |
| 1U PCIe NVMe Mount (DP-0039) | DP-0039 | 10-inch 1U rack mount for Pi 5 in a RackMate cabinet |
| 2U PCIe NVMe Mount (DP-0046) | DP-0046 | 2U dual-Pi rack mount |
| 1U SBC Shelf (DP-0033) | DP-0033 | 10-inch 1U shelf for up to 2× Pi 5 side-by-side |
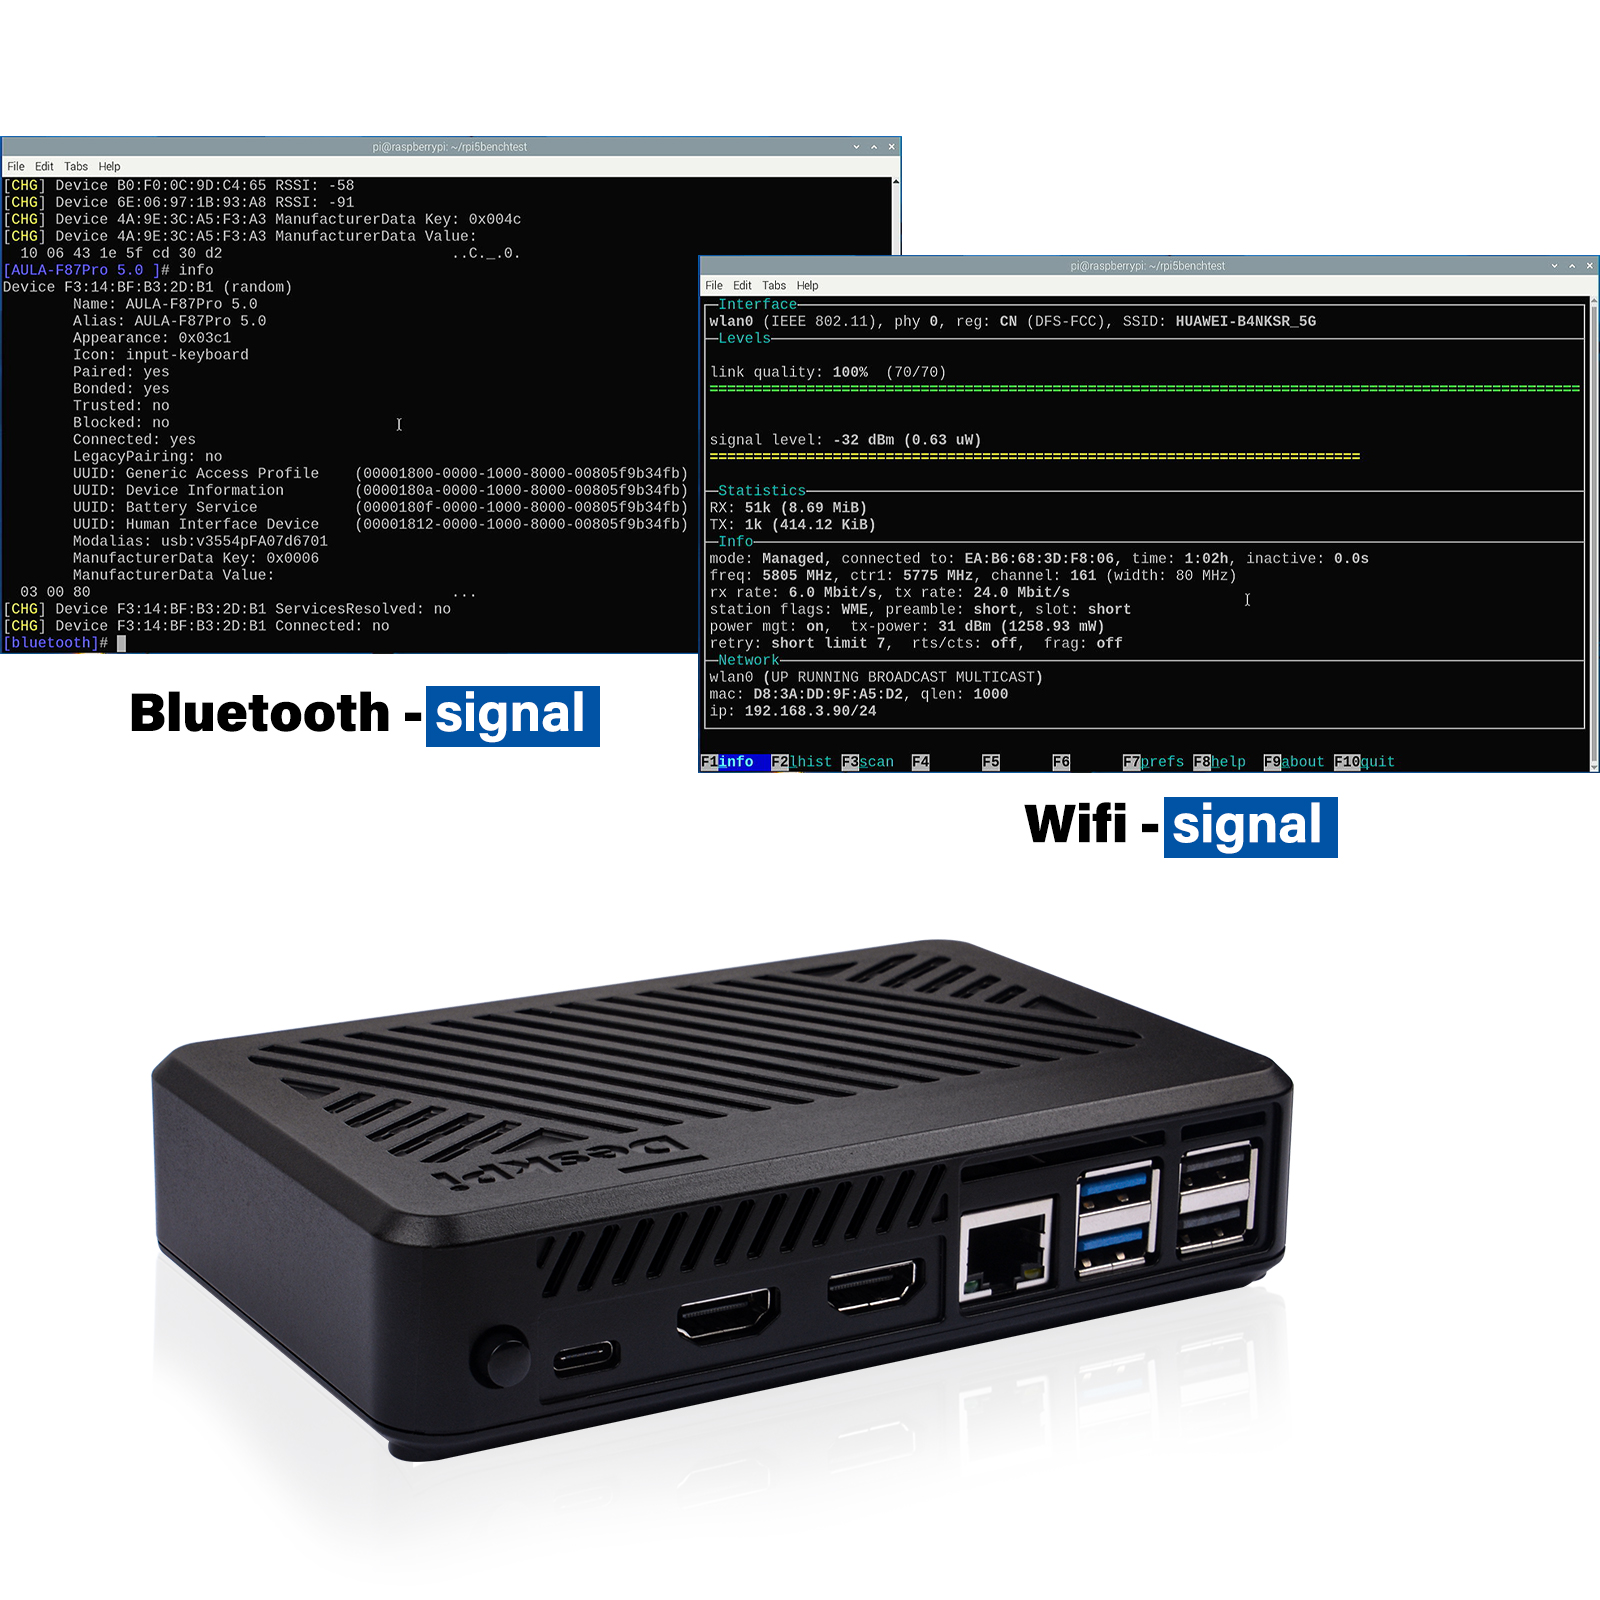
Wireless Note: The DeskPi Lite enclosure is verified to preserve 2.4 GHz / 5 GHz Wi-Fi and Bluetooth signal integrity — internal M.2 NVMe clock harmonics do not affect wireless performance.
For more product information, visit DeskPi Home.