[TEST] Five Lessons from Building Our First 10-inch Homelab Rack

🧪 This is a TEST article. It exists only to preview how the Blog feature looks and behaves. The story below is illustrative, not a real build report — please delete the file
blog/2026-09-20-five-lessons-10-inch-rack.mdafter testing.
✍️ This post was drafted with AI assistance and reviewed by the DeskPi team before publishing. It shares personal build experience — treat it as a story, not a specification sheet.
Last month one of our engineers finally moved a small pile of Raspberry Pi boards from a desk drawer into a proper RackMate T1 10-inch rack. The build itself took an afternoon; the planning took longer, and that is exactly the point of this post. Here are the five lessons that saved us the most time — plus the two mistakes we made anyway.
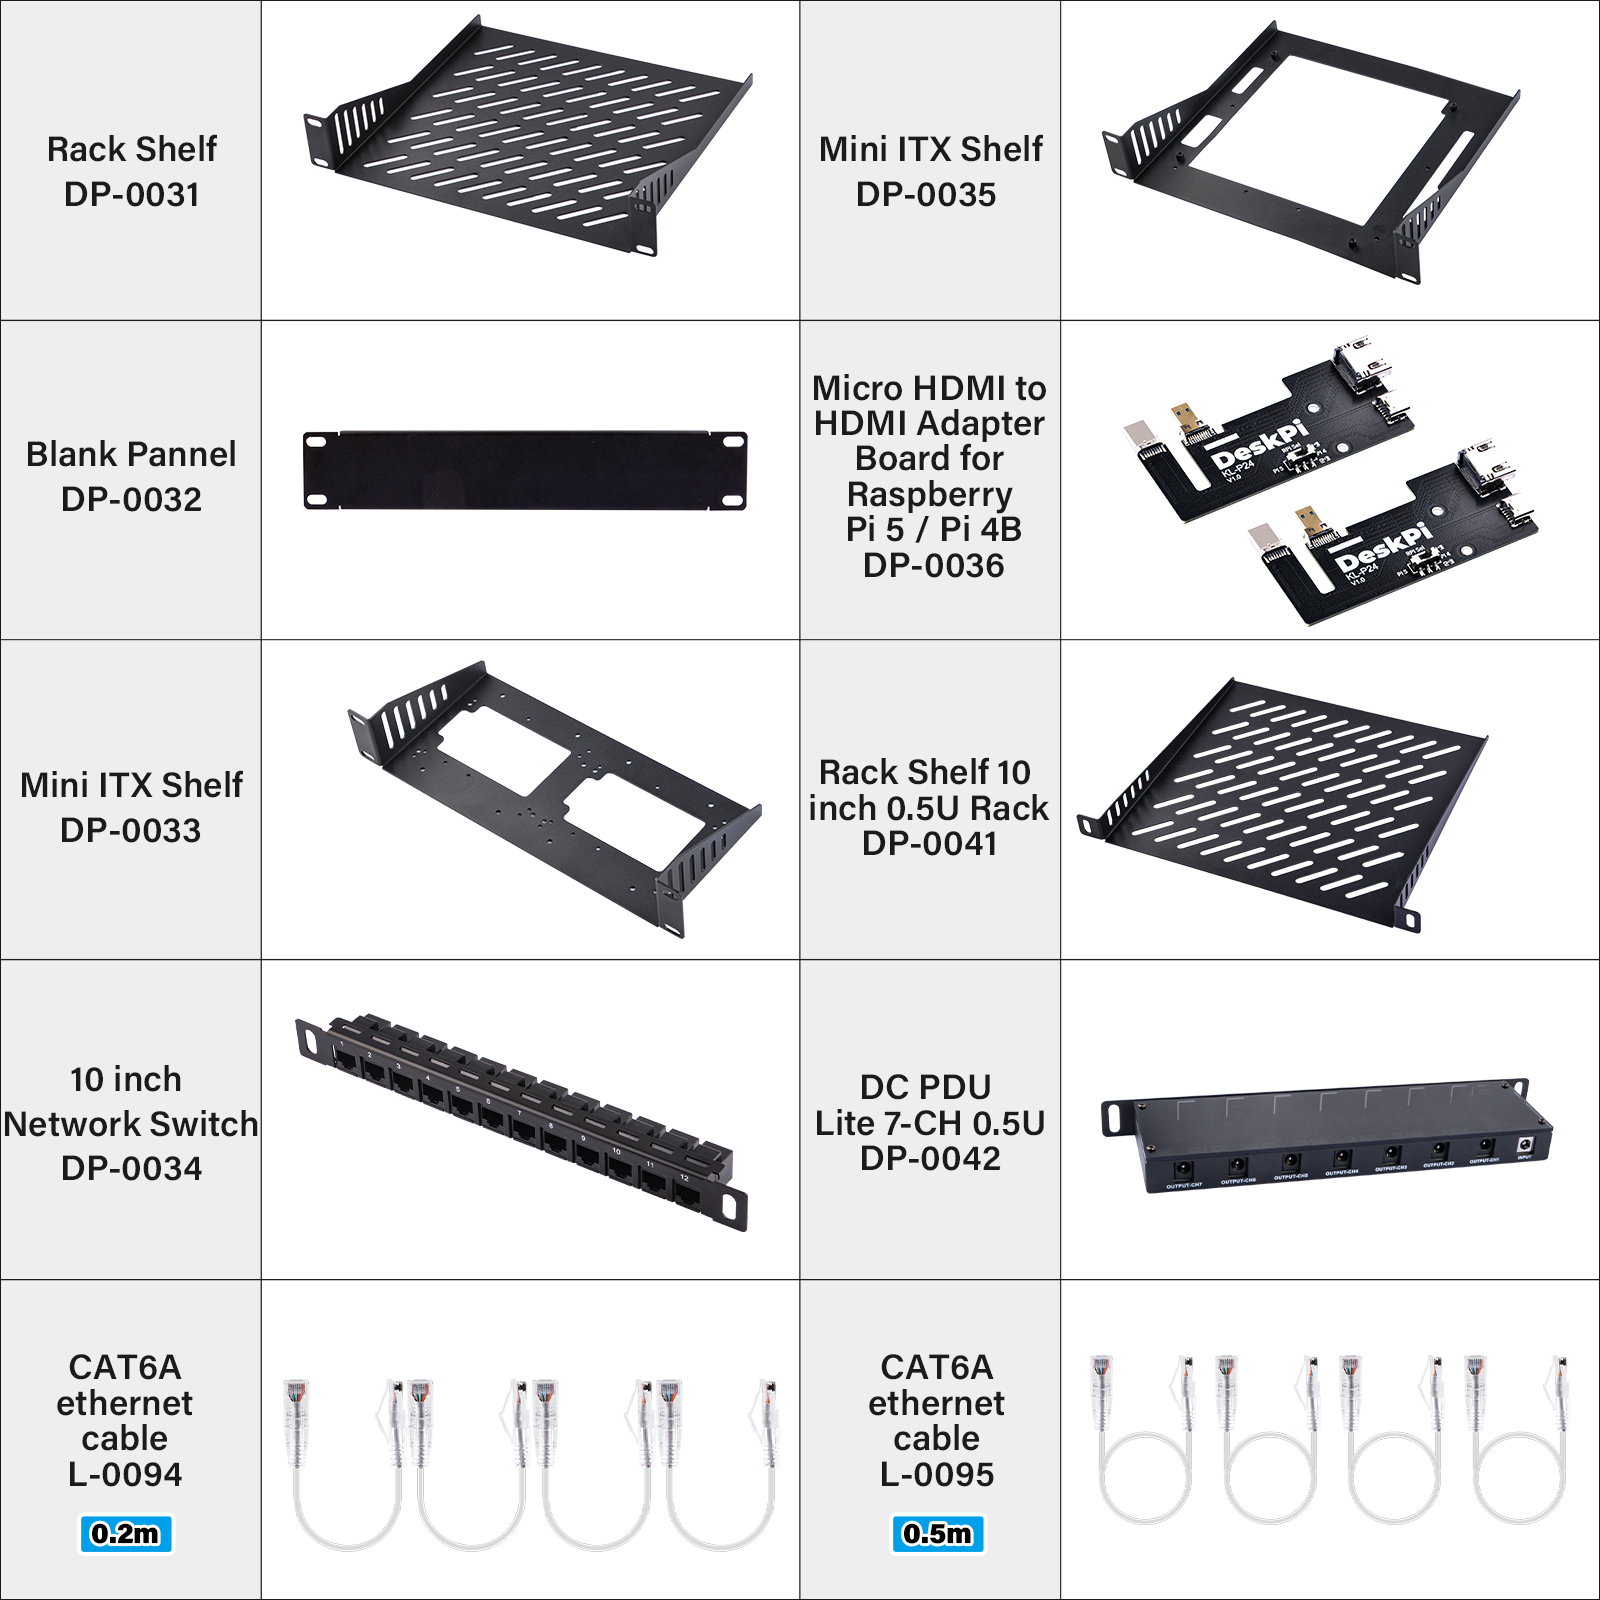
Lesson 1: Start with a parts plan, not a shopping cart
Our first instinct was to order "one of everything that looked useful". The better instinct came later: sketch the final layout first, count the U positions, and only then order the trays and panels that layout actually needs. The compatibility matrix did most of the heavy lifting here, because it answers the only question that matters before checkout: does this combination of board, tray and rack actually fit together?
| Decision | What we chose | Why |
|---|---|---|
| Frame | RackMate T1 | Compact enough for a desk shelf, tall enough to grow into |
| Board trays | SBC shelves from the accessories overview | One shelf per node keeps swaps painless |
| Power | DC PDU Lite | One tidy power entry instead of a pile of bricks |
| Cable entry | Brush panel | Cables in, dust mostly out |
Lesson 2: Airflow is decided before the first board is mounted
We mounted everything first and thought about airflow "later", which is how "later" becomes "never". The fix was simple: decide the front-to-back air path on day one, group the hotter boards near the fan side, and leave the vented panels where air actually needs to move. After the rework, idle temperatures dropped noticeably within a few minutes of the fans settling in.
Lesson 3: Cable management is a habit, not an afterthought
The 3D-ring cable management set only works if you install rings as you wire, not after twelve cables have already braided themselves into a single organism. Route, label, move on. Future-you, holding a serial console cable at midnight, will be grateful.
Lesson 4: Watch the thermals before you close the panels
Before the panels went on, we spent a lazy ten minutes watching idle temperatures on each node, just to have a baseline:
watch -n 5 vcgencmd measure_temp
It is not a lab measurement, but knowing the "normal" idle number for each board makes it obvious later when a fan fails or a vent gets blocked. Most of the "my Pi is slow" mysteries we see in troubleshooting trace back to heat nobody measured until it was already a problem.
Lesson 5: Document the build as you go
Every time we skipped writing down a step, we paid for it during the first upgrade two weeks later. A photo per stage and one line per decision — layout, air path, power assignments — turned a two-hour "which cable was this again?" session into a ten-minute swap.
What is next
The rack now hosts a five-node cluster, and the second rack is already in planning. If you are building something similar, the RackMate series overview is a good starting point — and if you run into trouble along the way, the troubleshooting pages cover the common failures we and our users see most.
Have a build of your own? We would love to feature reader builds in a future post.